Introduction
As organizations evolve, client configurations may require updates to reflect changes in ownership, operations, or service requirements. Whether a client undergoes a name change, shifts business units, or redefines its internal policies, maintaining accurate and up-to-date client records is crucial for seamless IT service delivery. Regularly reviewing and editing client details ensures the environment remains aligned with day-to-day operations and business goals.
OpsRamp offers administrators the ability to view and modify essential client configuration settings in a structured, secure manner. This includes managing account details, add-on features, security policies, user access, and branding. These tools help ensure that each client operates within their allocated scope while maintaining proper data isolation, access control, and compliance with organizational standards.
View and edit client details
Follow these steps to view and edit client details:
- Click Setup > Account. The Account Details screen is displayed.
- Click Clients tile.
- Search for the client and click on client name. The ACCOUNT DETAILS screen is displayed.
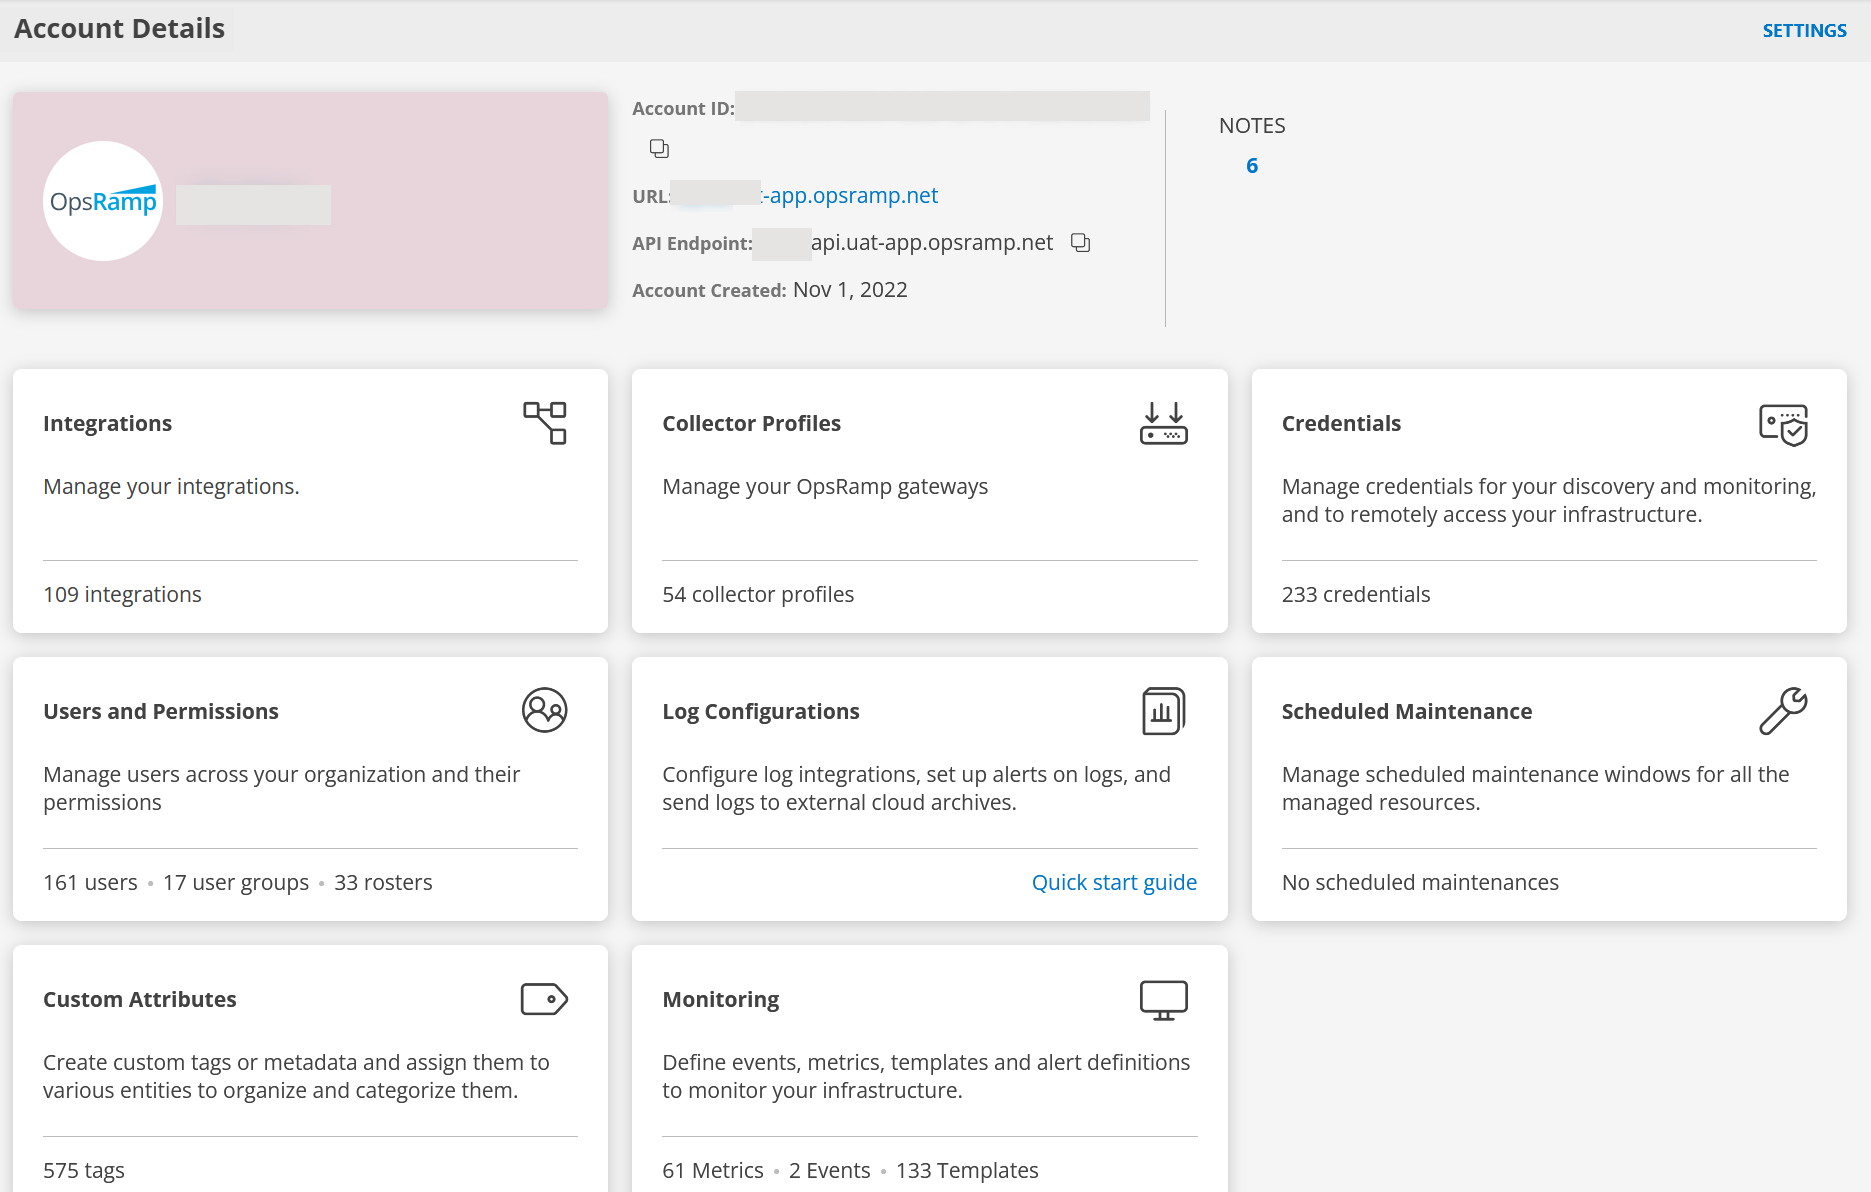
Information related to client like Account ID, URL, API Endpoint, Account Created date are displayed. - Click SETTINGS located in the upper-right corner of the screen. The ACCOUNT SETTINGS screen is displayed.
- Make the necessary changes in the tabs:
- ACCOUNT: Modify Notification Email, Country, City, State as required.
- ADD-ONS: Add packages and Add-Ons as required.
- SECURITY: Enable Two-Factor Authentication, restrict access to specific IP(s) or modify password policy settings as required.
- ADVANCED SETTINGS: Change the availability settings and other settings as required.
- LOG MANAGEMENT: This option is displayed if you selected Log Management as an Add-On.
Select the appropriate option:- Enable (Stats immediately): Collects log data from agents in your infrastructure. This will allow the system to receive alerts and insights based on the collected logs information.
- Disable: Disables collection and processing of log data from all agents. As a result, alerts and insights will not be available.
- LOG MANAGEMENT: This option is displayed if you selected Log Management as an Add-On.
- BRANDING: Configure custom branding for the client. Using custom branding, you can customize the platform UI by adding company logo, providing a website title, and changing the look and feel of the website to match the company theme.
See below for more information.
Note: When you add a new URL in production, you must contact support to have a DNS entry added for the new URL.
Configure custom branding
Follow these steps to configure custom branding:
From ACCOUNT SETTINGS screen, click BRANDING tab.
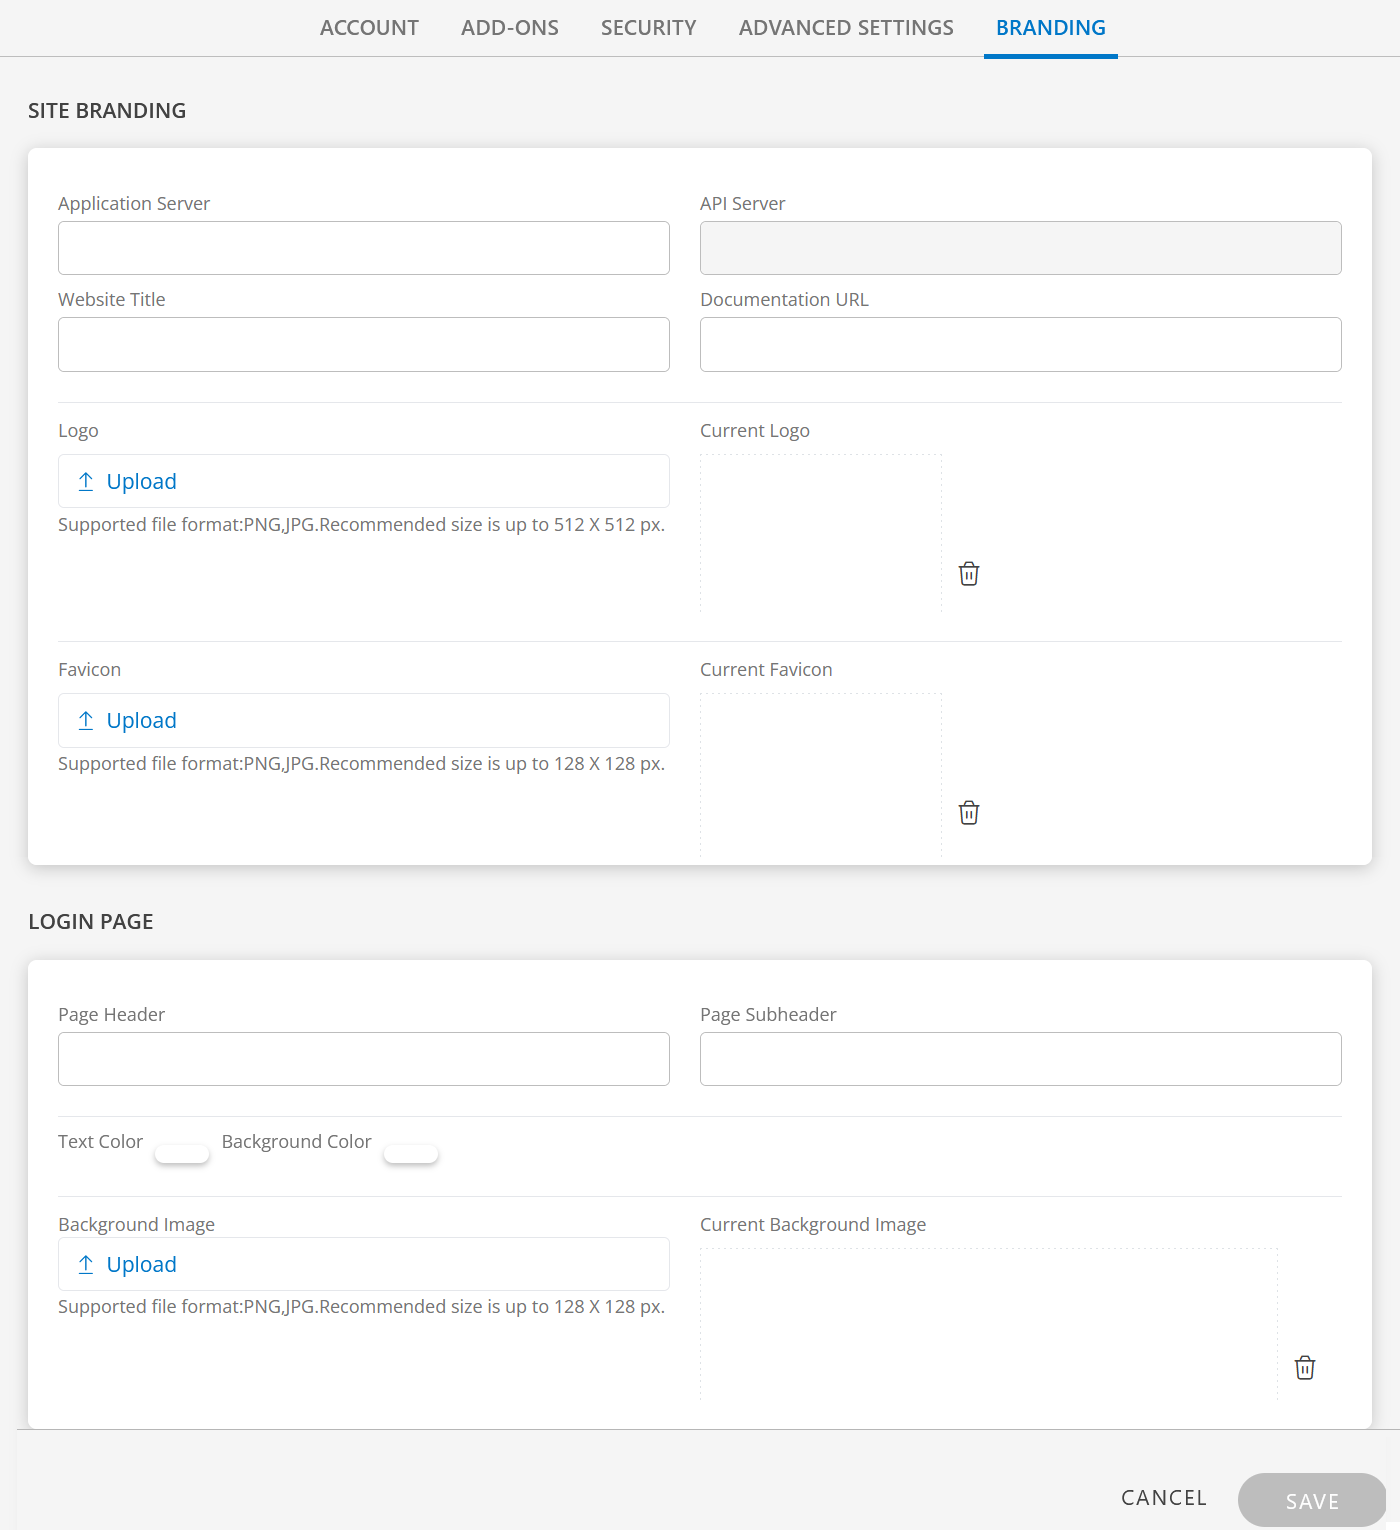
Enter the following branding elements:

SITE BRANDING
Branding Element Field Type Description Application Server String Custom URL for the application server.
When you add a new URL in production, you must contact support to get the DNS entry added for the new URL.
The URL prefix you add is concatenated with the other URL values to create the URL for accessing the custom site.
Example: If you specifymyurl,the URL to access the new website ishttps://myurl.app.opsramp.com/
Note: The Application URL format accepts any character, except the following:
*, #, &, ?.API Server String Displays the full API server name based on the application server custom URL.
This field is not editable.Website Title String Custom website title that is used in the browser tab. Documentation URL String URL of the documentation site. Logo File Input Custom image. A logo that is used for the navigation bar and login page. - Supported file format: PNG, JPG
- Size: Less than 10KB (recommended)
- Dimension:
- Height: 512px
- Width: no more than 512px
Favicon File Input Custom image that is used in the browser tab. - Supported file format: PNG, JPG
- Size: Less than 10KB (recommended)
- Dimension: square, 128 x 128 px
LOGIN PAGE
Branding Element Field Type Description Page Header String Header text for the login page. Location is on the first line of the login page. Page Subheader String Sub-header text for the login page. The text displays on the second line of the login page. Text Color Color picker Color of the header and sub-header text. Background Color Color picker Colored layer around the logo. Background Image File Input Background image on the login page. The image appears darker than the original due to an overlay on top of the image. - Supported file format: PNG, JPG
- Size: Up to 128 x 128px (preferred)
- Dimension: 1440x900 (recommended). Smaller images are tiled.
Current Background Image field displays the uploaded Background Image.
Click SAVE.
The Two-factor authentication popup window is displayed whenever you make changes in any of the fields in the Account settings window, as a verification step. After you have validated, the tenant account settings are saved.
Note: This verification step is triggered only if two-factor authentication is enabled for the tenant.
Branding example
Following values define client-level custom branding using a custom logo, favicon, background, and text labels: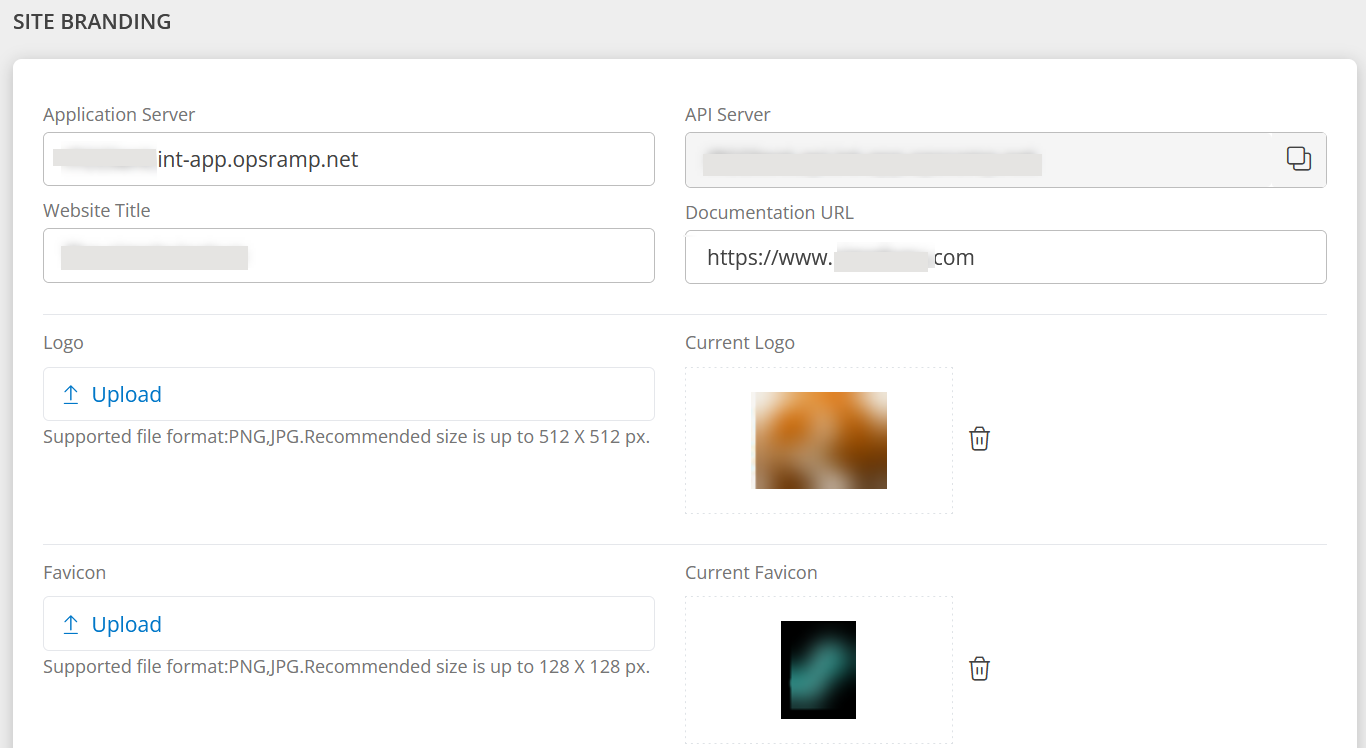
Following image shows the custom branding login page: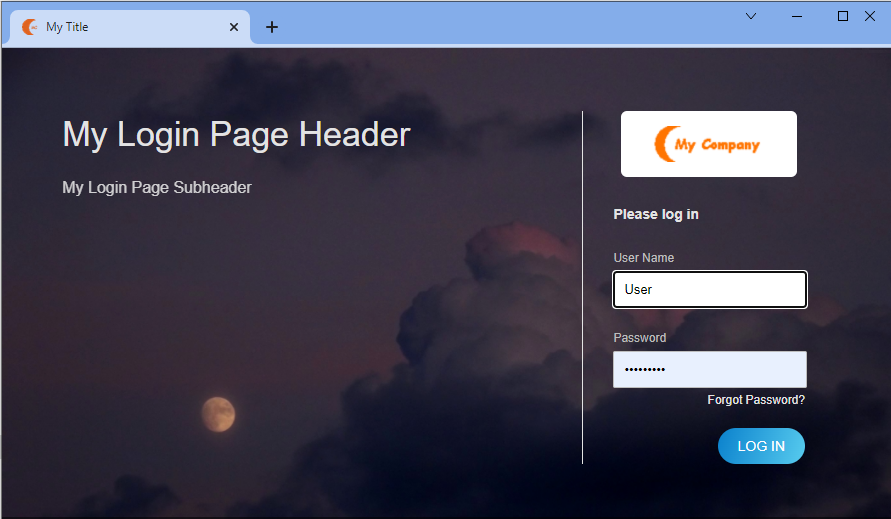
Filter
Use the filter dropdown to view clients that are in Active, Inactive, and All Status (active and inactive) statuses:
Follow these steps to view clients based on their current status:
- Click Setup > Account. The Account Details screen is displayed.
- Click Clients tile.
- Click the filter dropdown available at the right-top corner of the screen and select the required option:
- Active - Displays list of active clients.
- Terminated - Displays list of inactive clients.
- All - Displays list of active and inactive clients.
NOTES
The Notes feature allows you to efficiently document and manage important information at the client level. You can create, edit, and delete notes associated with specific clients or resources. This helps you to keep a record of all the information in one place.
Follow these steps to access Notes:
- Click Setup > Account. The Account Details screen is displayed.
- Click the Client/Partner dropdown menu available at the left-top corner of the screen and select the client.
Note: You may either type your client’s name in the search bar or select your client from the list.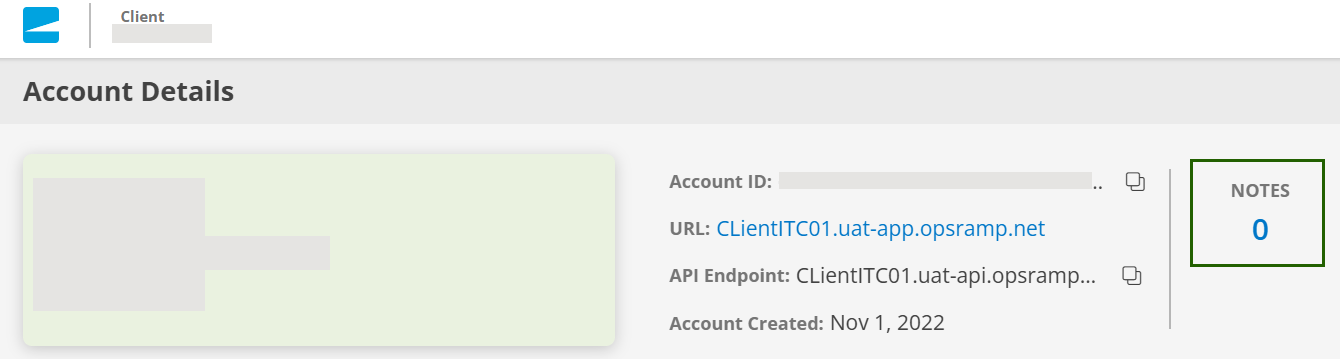
- Click the number under NOTES. The NOTES dialog box is displayed.
The count will show 0 if there are no notes added.
Managing notes
Add, update, or remove information to keep client records accurate and up to date.
Add a note
Follow these steps to add a note:
- From the Account Details screen, click the number under NOTES. The NOTES dialog box is displayed.
- From NOTES dialog box, click +NOTE.
- Fill in the following information in ADD NOTE screen.
Field Name Field Type Description Subject String Enter a subject for the note. Enter Description String Provide a description.
You can use the formatting tool bar to format the text.Validity Time range Date Picker Use the date picker icon to provide the validity time range.
To select a time range:- Click the date picker icon, hover the mouse and select the date range.
- Click APPLY.
Note: If you do not select any date range, Never Expire will be set by default. - Click SAVE. A confirmation message appears, and the note is saved.
Note:
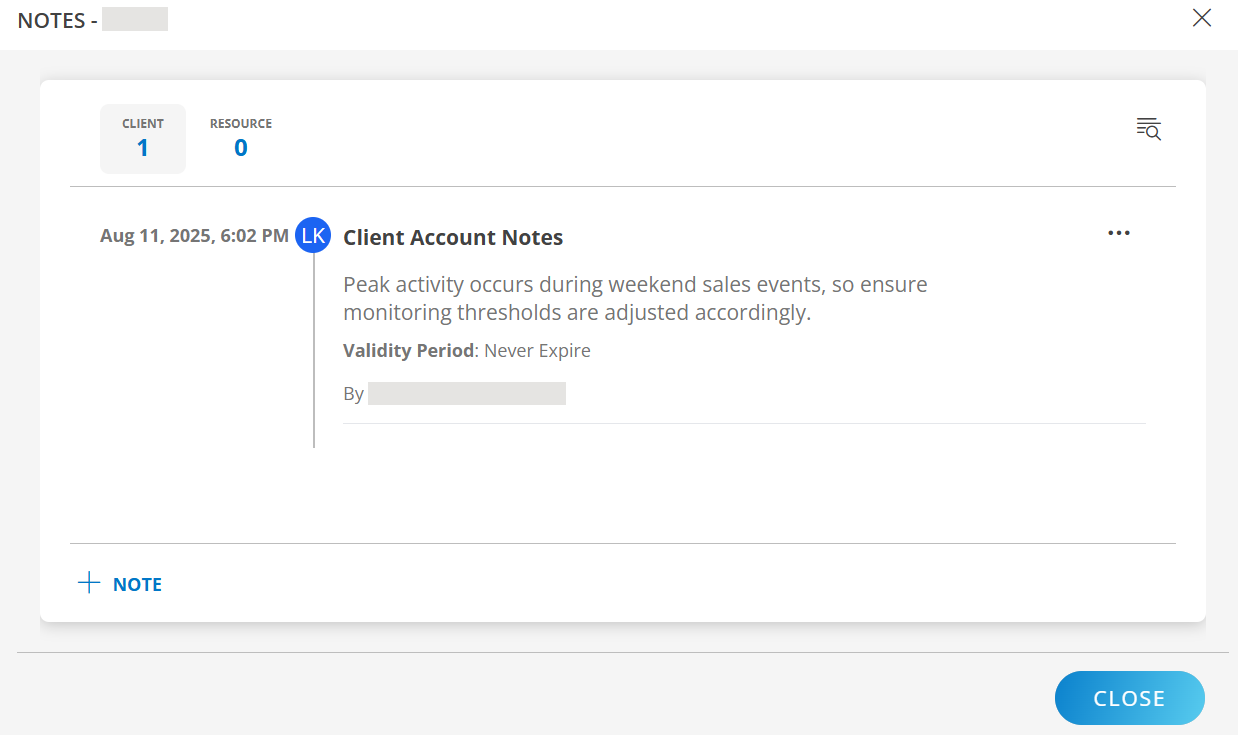
- The CLIENT column displays the count when you add a note at the client level.
- The RESOURCE column displays the count when you add a note at the resource level.
- The newest note is displayed at the bottom of the NOTES dialog box.
See Add a Note to learn how to add a note from the resource level.
After the note is saved, the RESOURCE column shows a count of 1.
Update a note
Follow these steps to update a note:
- From the Account Details screen, click the number under NOTES. The NOTES dialog box is displayed.
- Use the search feature to search for the note.
- Click the action (three dots) icon and select View. The NOTE dialog box is displayed.
- Update the information (Subject, Description, Validity) as needed.
- Click SAVE. The note is updated.
Remove a note
Follow these steps to remove a note:
- From the Account Details screen, click the number under NOTES. The NOTES dialog box is displayed.
- Use the search feature to search for the note.
- Click the action (three dots) icon and select Remove. A confirmation message is displayed.
- Click REMOVE. The note is removed.
Copy note Id
Copy ID for a note lets you quickly copy the unique identifier assigned to that note so you can:
- Reference it in support tickets or Emails — instead of describing the note in words, you give the exact ID so the team can find it instantly.
- Use it in API calls — when managing notes programmatically, you may need the note’s ID in the API request.
Follow these steps to copy a note Id:
- From the Account Details screen, click the number under NOTES. The NOTES dialog box is displayed.
- Use the search feature to search for the note.
- Click the action (three dots) icon and select Copy Id. The note’s unique Id is copied to your clipboard.
Related Topics
- See Export client details to learn how to export client information as a report.